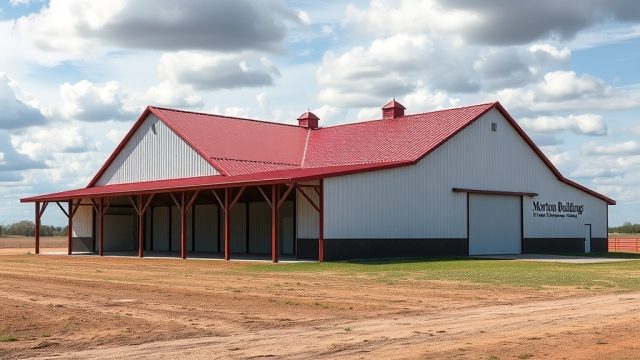
Fixing a Leaning Wall on a Wick 40×60 Pole Barn
When a wall on your Wick 40×60 pole barn begins to lean, it’s an immediate red flag that demands careful attention. This issue, while alarming, can often be corrected if caught early, preventing structural failure and preserving your investment. In this guide, we’ll walk through the common causes, diagnostic steps, and practical repair strategies specific to the Wick 40×60 design, drawing on real-world owner experiences and manufacturer specifications.
What Causes a Lean in a Wick 40×60 Wall Section?
Leaning walls in a Wick 40×60 pole barn usually stem from one of three root causes: inadequate lateral bracing during construction, compromised foundation support, or failure of the pressure-treated columns at the ground line. The building’s long 60-foot sidewalls are particularly vulnerable if post spacing is wider than standard (common with some custom layouts) or if wind shear forces were not fully accounted for in the framing design.
In many cases, the lean appears gradually after a heavy snow load or a severe windstorm. The natural tendency is for the wall to bow outward from the interior, often most noticeable near the center of the long wall. Examine the base of the columns carefully; if the pressure-treated wood shows decay or insect damage, the post may have lost its vertical alignment. You’ll also want to check the connection between the wall girts and the posts—rust or missing bolts can allow rotation.
How Do You Determine the Severity of a Lean?
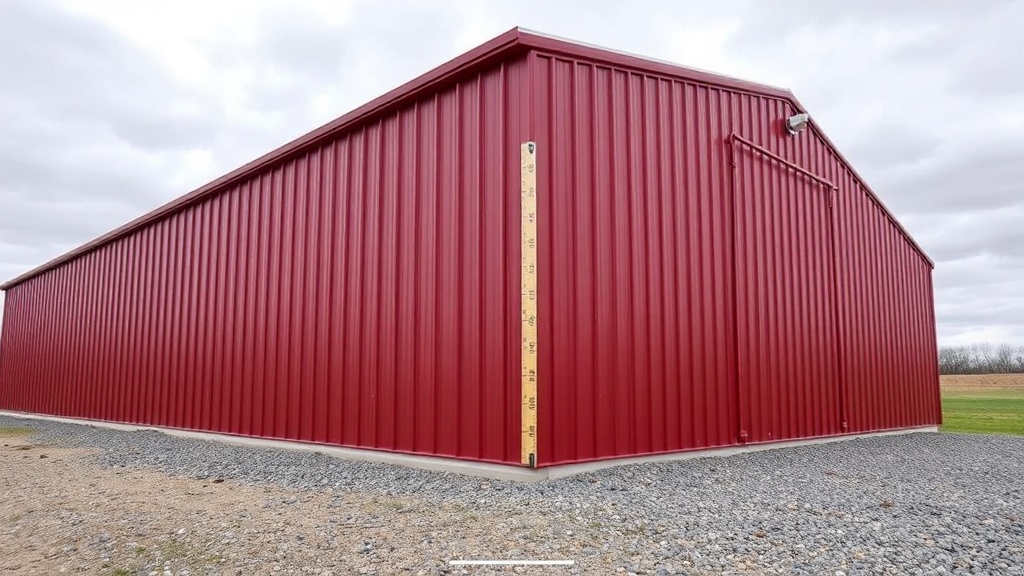
Not every lean requires an emergency contractor call. Before deciding on a repair approach, you need to quantify how far out of plumb the wall is. Here’s a simple severity table based on measurements taken with a 4-foot or 6-foot level at the wall’s mid-point:
| Lean Measurement (over 8 ft height) | Severity Level & Recommended Action |
|---|---|
| Less than 1/2 inch | Minor cosmetic – Usually not urgent. Monitor after heavy weather. Often due to settling of gravel base. Ensure gutters and downspouts direct water away. |
| 1/2 inch to 1.5 inches | Moderate structural concern – Needs attention soon. Look for buckling in siding or sagging roofline. Likely needs post re-alignment and addition of cable or cross-bracing. |
| 1.5 inches to 3 inches | High risk – Action required immediately. Columns may be failing at grade. Strongly consider installing temporary shoring while planning a permanent repair. |
| Over 3 inches | Critical failure – Risk of collapse. Call a structural engineer and your Wick dealer. Do not enter the building. The roof may be compromised. Full post replacement likely needed. |
If you’re unsure, take a photo with a level placed vertically against the wall girt at several points along the affected wall. If the bubble drifts more than half a bubble over the length of the level, it’s time for a closer inspection, especially if the lean appears uniform along the entire wall plane.
Can You Straighten a Leaning Wall Without Removing Siding?
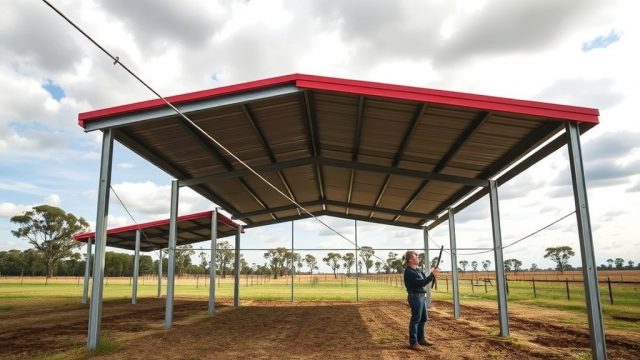
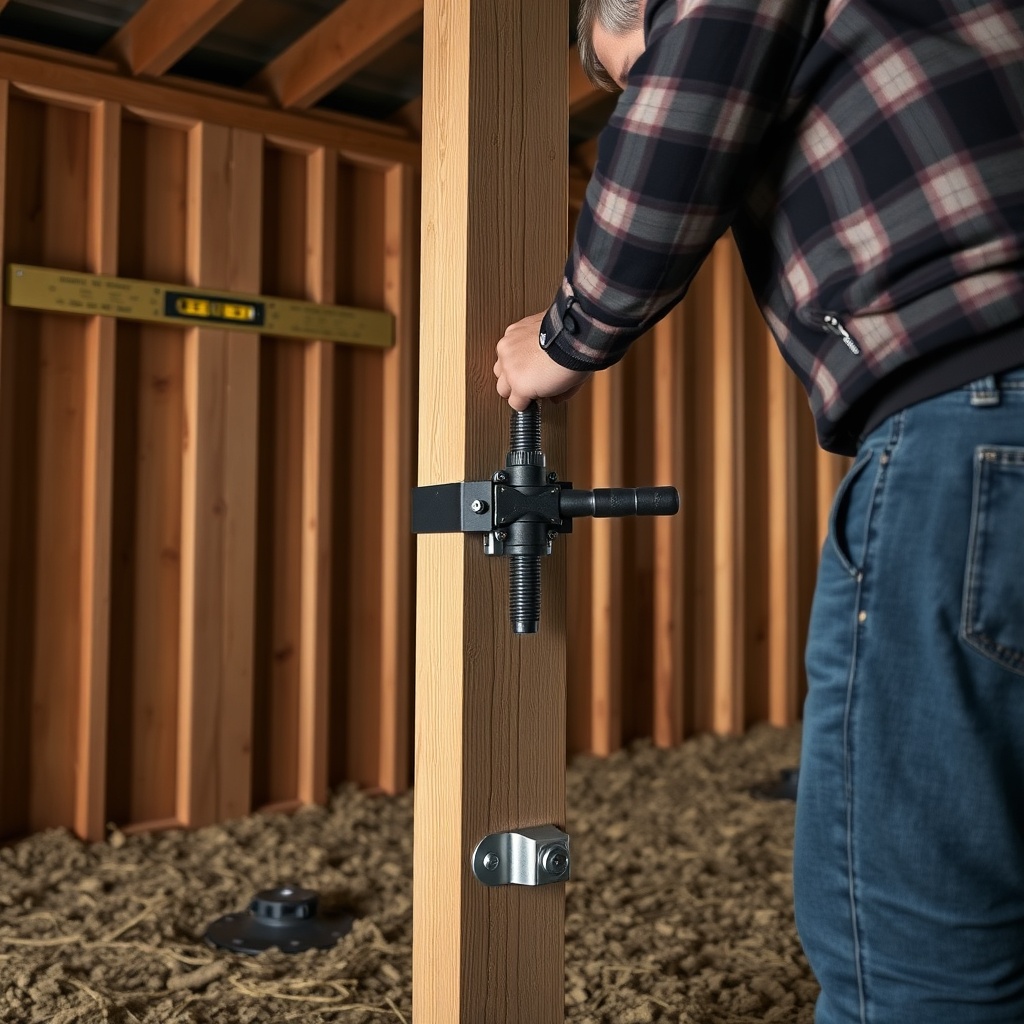
Yes, in many cases with a Wick 40×60 you can straighten the wall without stripping all the metal siding, which saves significant labor and material cost. The most common technique involves installing temporary turnbuckle braces on the interior side of the wall, then carefully applying inward pressure to bring the posts back to plumb. This works best when the posts are still solid and the foundation (whether gravel base or concrete slab) hasn’t heaved.
However, keep in mind that if the siding is already wrinkled or distorted from the lean, you may need to remove individual panels to access the post connections. A practical approach is to remove only the bottom 2-3 panels of metal siding along the affected wall section. This gives you access to the critical area where the post sits on the skid or concrete. If you’re working with a gravel base foundation, you’ll want to review the Wick 40×60 Foundation: Gravel Base vs Concrete Slab Comparison to understand how foundation type affects repair methods. Once the braces are installed and tightened slowly over several days, you can re-fasten the siding.
What Tools and Materials Are Needed for This Repair?
For a typical leaning wall correction on a Wick 40×60, you’ll want to gather the following before starting. Don’t cut corners here; using undersized hardware can lead to the lean returning. The total cost of materials for a moderate lean correction (assuming you do the labor yourself) generally runs between $150 and $400, depending on how many posts need straightening.
- Turnbuckles (2-3 per post): Heavy-duty with 3/4-inch threads, rated for at least 2000 lbs working load. Cost: $25–$45 each.
- Cable or chain: 3/8-inch galvanized aircraft cable or grade 70 chain. Cost: $30–$60 per 50-foot roll.
- Post anchors: 1/2-inch x 12-inch concrete wedge anchors (if on slab) or 30-inch ground screw anchors (for gravel base). Cost: $8–$15 each.
- Levels: One 6-foot and one 4-foot torpedo level. Cost: $40–$80.
- Wrenches and sockets: For turnbuckle adjustment. Cost: $20–$50 if you don’t have them.
- Lag screws or bolts: 1/2-inch x 6-inch galvanized to attach brackets to posts. Cost: $2–$4 each.
- Safety gear: Hard hat, gloves, safety glasses, and work boots.
If the posts themselves are decayed or split, you’ll need to replace them entirely, which is a significantly larger job requiring a crane or winch. For that, you’d likely need to coordinate with a Wick dealer for matching 6×6 or 8×8 pressure-treated posts. Also consider that the type of siding on your barn—metal vs vinyl—can affect how easily you can access the framing; see the Wick 40×60: Metal Siding vs Vinyl Siding Pros and Cons for guidance on removal differences.
How Do You Prevent Future Leaning on a Wick 40×60?
Prevention is far cheaper than repair. The most critical step starts at installation: ensuring the posts are set straight and plumb, with proper depth below frost line. On a Wick 40×60, the manufacturer recommends a minimum of 48 inches below grade for most climates. If your barn sits on a gravel base, you must ensure that the base is compacted in lifts (4-6 inches at a time) and that drainage is directed away from the post holes. A common oversight is backfilling with the same clay-heavy soil that expands when wet, which can push posts out of alignment.
Once the barn is up, add lateral bracing if your original plans didn’t include it—especially for the long 60-foot sidewalls. Diagonal cross-bracing from the top plate down to a lower girt, or horizontal shear walls at each post bay, can dramatically reduce lateral movement. Many owners also report success with installing a radiant barrier, which not only reflects heat but also helps control moisture that can soften the wood over time. Check out the Does a Radiant Barrier Work for Wick 40×60 Pole Barns? article for more on how that works.
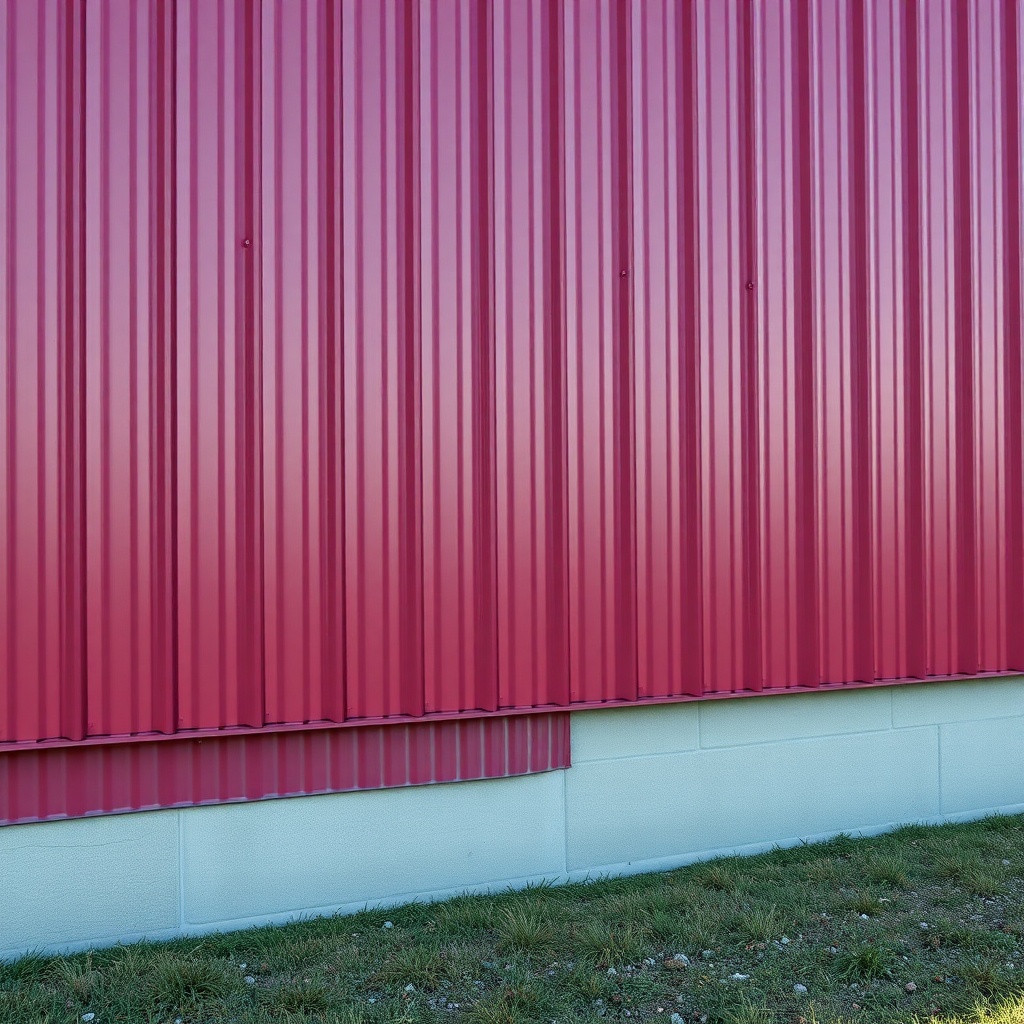
Regular inspections every spring and fall are your best defense. Walk the perimeter and look for gaps between the siding and the foundation, or for exposed post bases where soil has washed away. If you see any, add more compacted gravel or pour a small concrete collar around the base. Keeping gutters clean and downspouts discharging at least 6 feet from the building also helps prevent washout.
What Owners Say
Owners of Wick 40×60 pole barns who have dealt with leaning walls offer some consistent observations. One common note is that the lean often shows up after the building’s first winter, especially if the site had clay soil. “I noticed a 1-inch dip in the middle of my 60-foot wall after the first freeze-thaw cycle,” said one owner from Indiana. “I installed turnbuckles and cross-bracing myself over a weekend, and it’s been straight for five years now.”
Another owner from Ohio shared that his lean was caused by a poorly secured post at the end wall. “The delivery crew didn’t bolt the post to the concrete pad properly. I caught it when it was only a half-inch out, so I just added extra lag bolts. The siding was already up, but I loosened the top panel and it was easy to access.” Several owners also emphasized the importance of checking the pressure-treated skids that sit directly on the ground. “If your skids are rotting, you’ll never keep the walls straight,” said a Michigan farmer. “I replaced mine with CCA-treated skids and haven’t had a problem since.” That’s worth reading more about in the Wick Buildings 40×60: Do You Need Pressure-Treated Skids? piece.
Frequently Asked Questions
Q: Can I fix a leaning wall myself, or do I need a contractor?
A: For leans under 1.5 inches and with solid posts, a handy DIYer can handle the repair with turnbuckles and bracing. For larger leans or if posts are rotted, hire a structural contractor—the risk of collapse isn’t worth it.
Q: How long does it take to straighten a wall on a Wick 40×60?
A: A moderate correction usually takes one to three weekends, including setup, bracing, and siding removal/installation. Allow extra time if you need to replace posts or if the foundation needs repair.
Q: Will my insurance cover a leaning wall repair?
A: It depends on the cause. If it’s from an event like a windstorm or snow load, you may have coverage. For gradual settling or wood decay, typically not. Check with your carrier before starting work.
Q: Does the type of door on the end wall affect leaning?
A: Yes, very much. Larger openings for sliding or roll-up doors weaken the end walls. If your lean is concentrated near a door, the framing around it may need reinforcement. Learn about door options in Wick 40×60: Sliding Doors vs Roll-Up Doors for End Openings.
Q: What if the lean is only at the top of the wall, near the roof?
A: That’s usually a roof-truss connection issue, not a post problem. Check your truss-to-post gusset plates—if they’re missing or loose, add more nails or bolts. This can often be fixed from inside without removing siding.
Q: How much does it cost to hire someone to fix a leaning wall on a 40×60 barn?
A: Expect to pay between $800 and $3,000 for a typical repair, depending on severity and your location. Full post replacement can run $5,000–$10,000 because of the labor and equipment needed.